Step 4: Generate test cases
This final step takes place on the user side: a tester launches a generation from a requirement. If the generation succeeds, the whole Server → Prompts → Project chain is correctly configured.
Prerequisites
- Steps 1, 2, and 3 completed.
- SquashTM Ultimate 💎 license.
- The user has read permissions on the project's requirements and test case creation permissions on at least one project.
- The project contains at least one filled-in requirement (a name and a description are enough for a first test).
Launch the generation
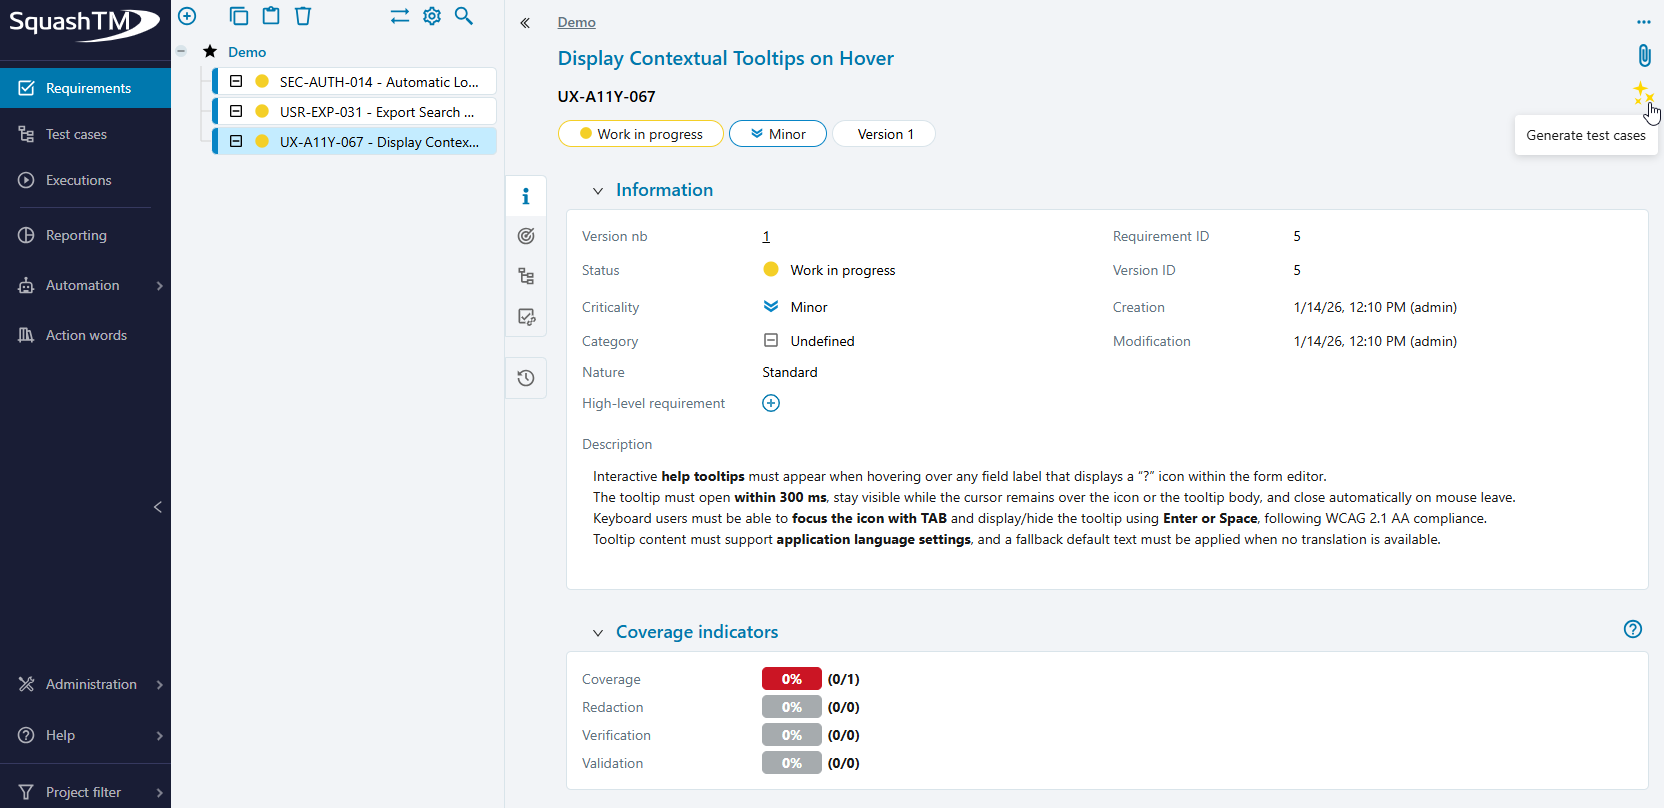
Open a requirement from the configured project. In the menu at the top right of the screen, click Generate test cases.
Button missing?
See the Troubleshooting section below.
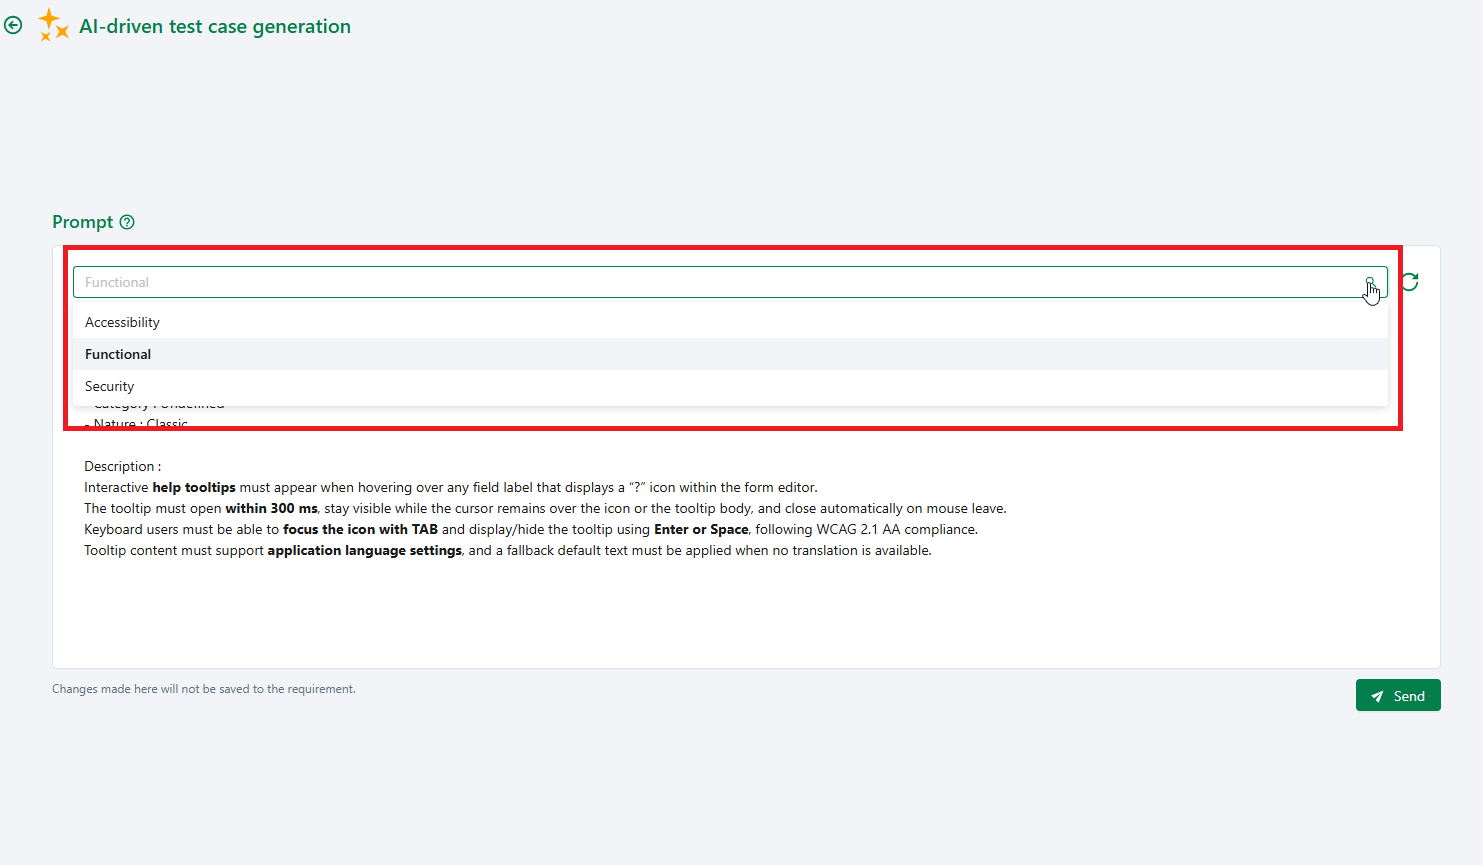
Pick and adjust the prompt
Select the desired prompt from the dropdown list. For a first test, the Standard generation is enough. You can adjust the prompt text before sending (for example to specify an expected number of test cases). Changes made here to the prompt text are not propagated back to the source requirement.
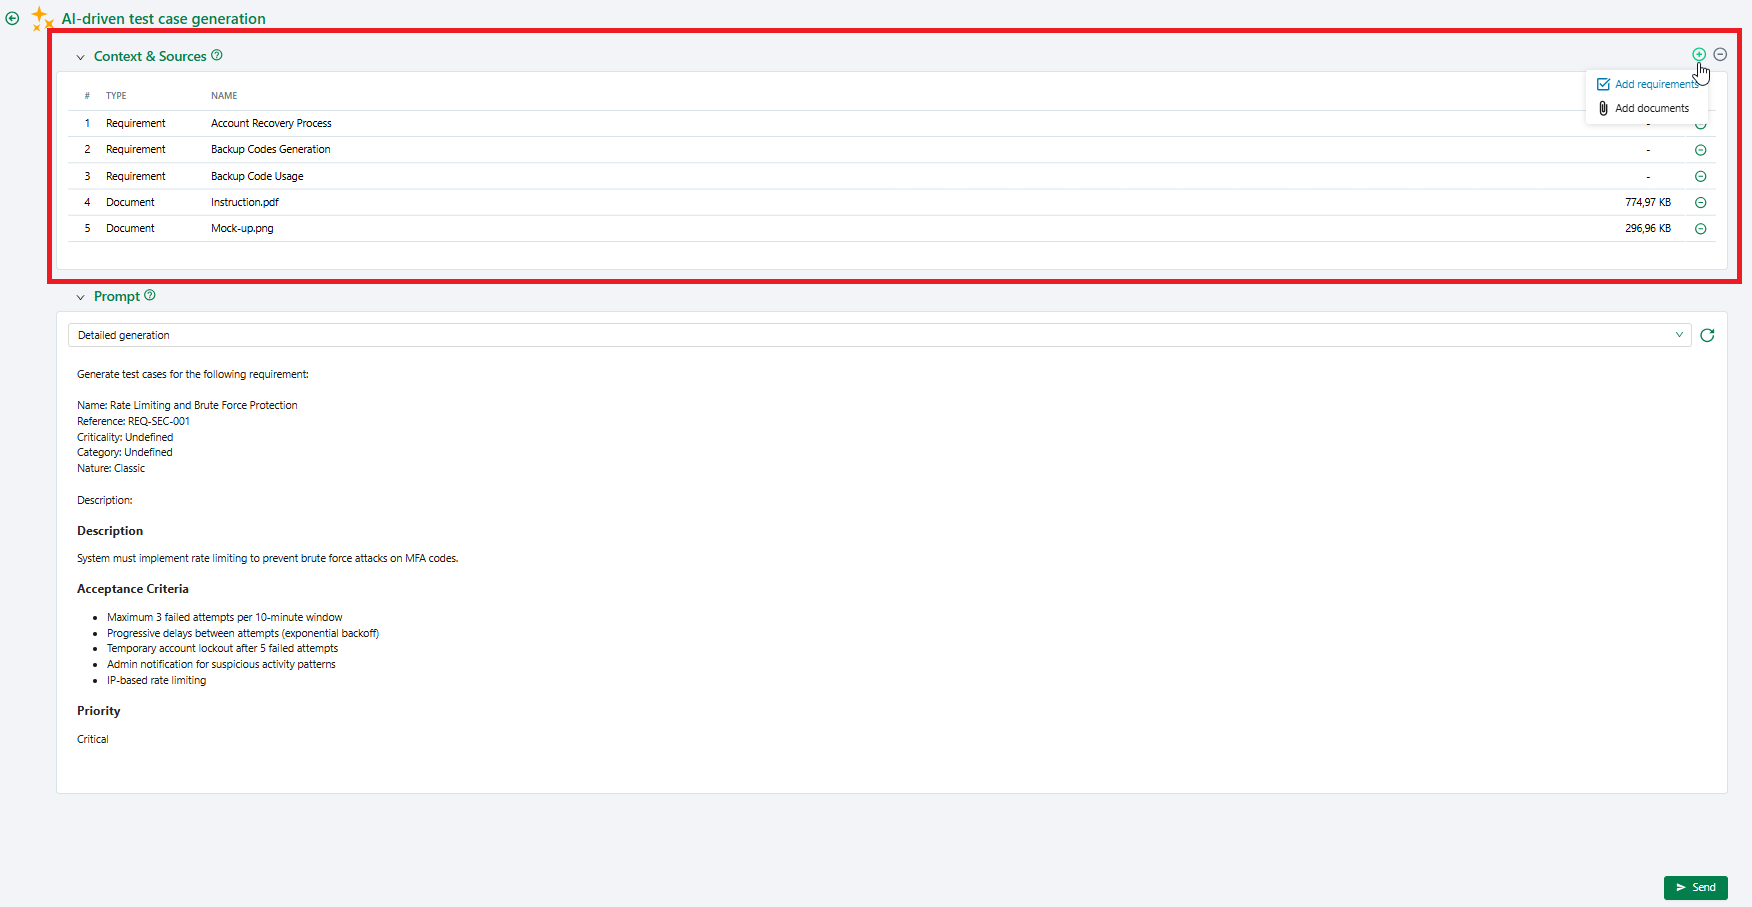
(Optional) Enrich with context
If the prompt set associated with the project contains a context wrapper template, the Context & Sources panel is displayed. You can add requirements and documents to enrich the generation.
Document formats and sizes
The accepted file formats and the maximum total allowed size are defined by the administrator on the AI server page. If a document is rejected, contact your administrator. For details, see Document context limits.
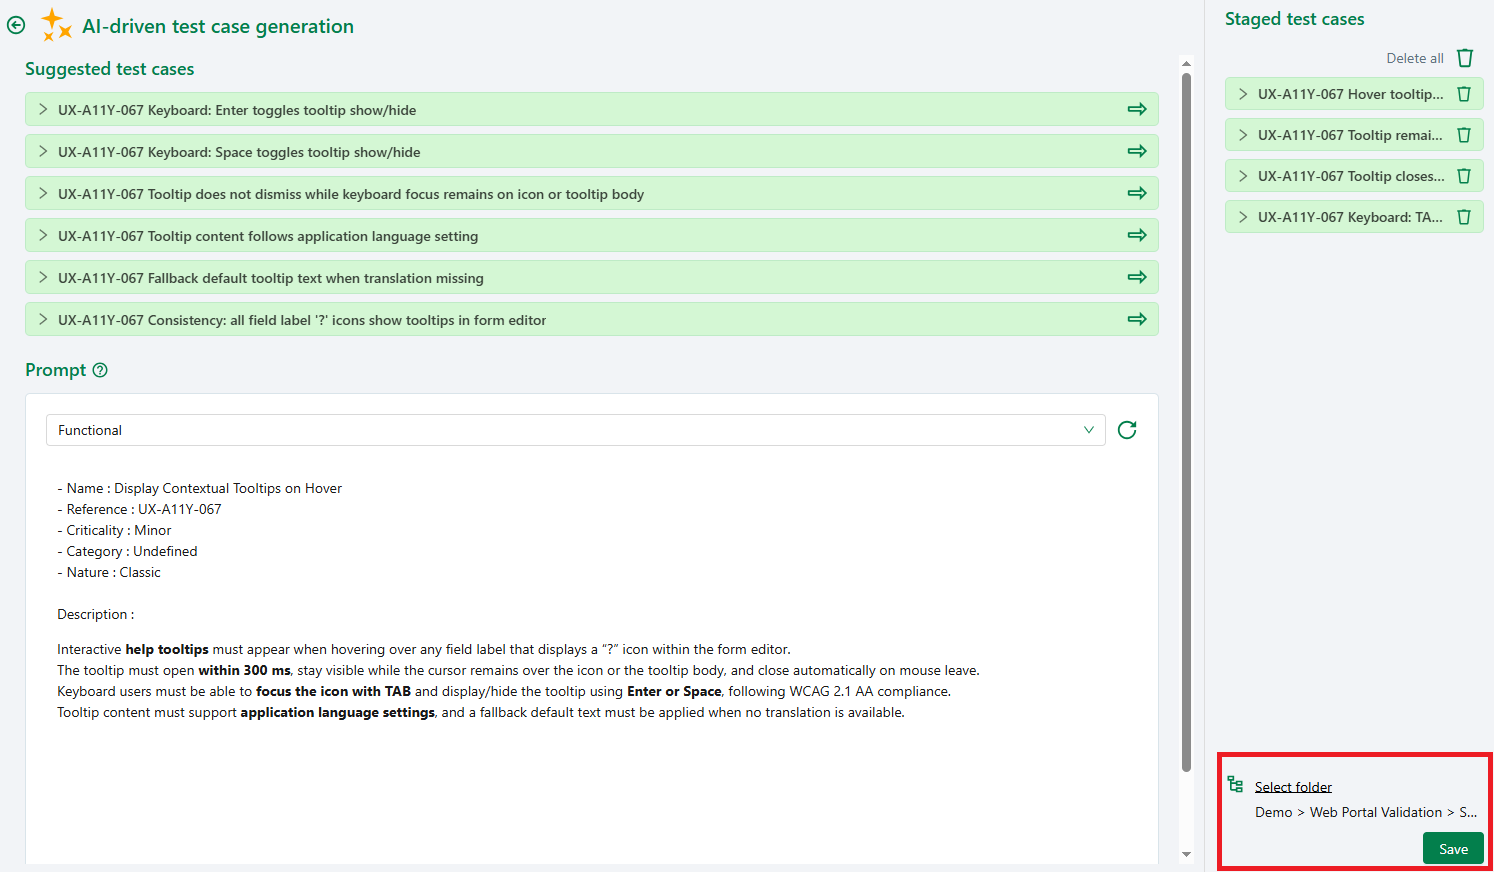
Review the suggestions
Click Send. The suggested test cases appear in the main area. Each suggestion can be expanded to view the test steps, prerequisites, importance, reference, and possible datasets.

Select and save
Select the test cases to keep using the green arrow or by dragging and dropping them into the staging area on the right. Then choose a destination location and click Save.
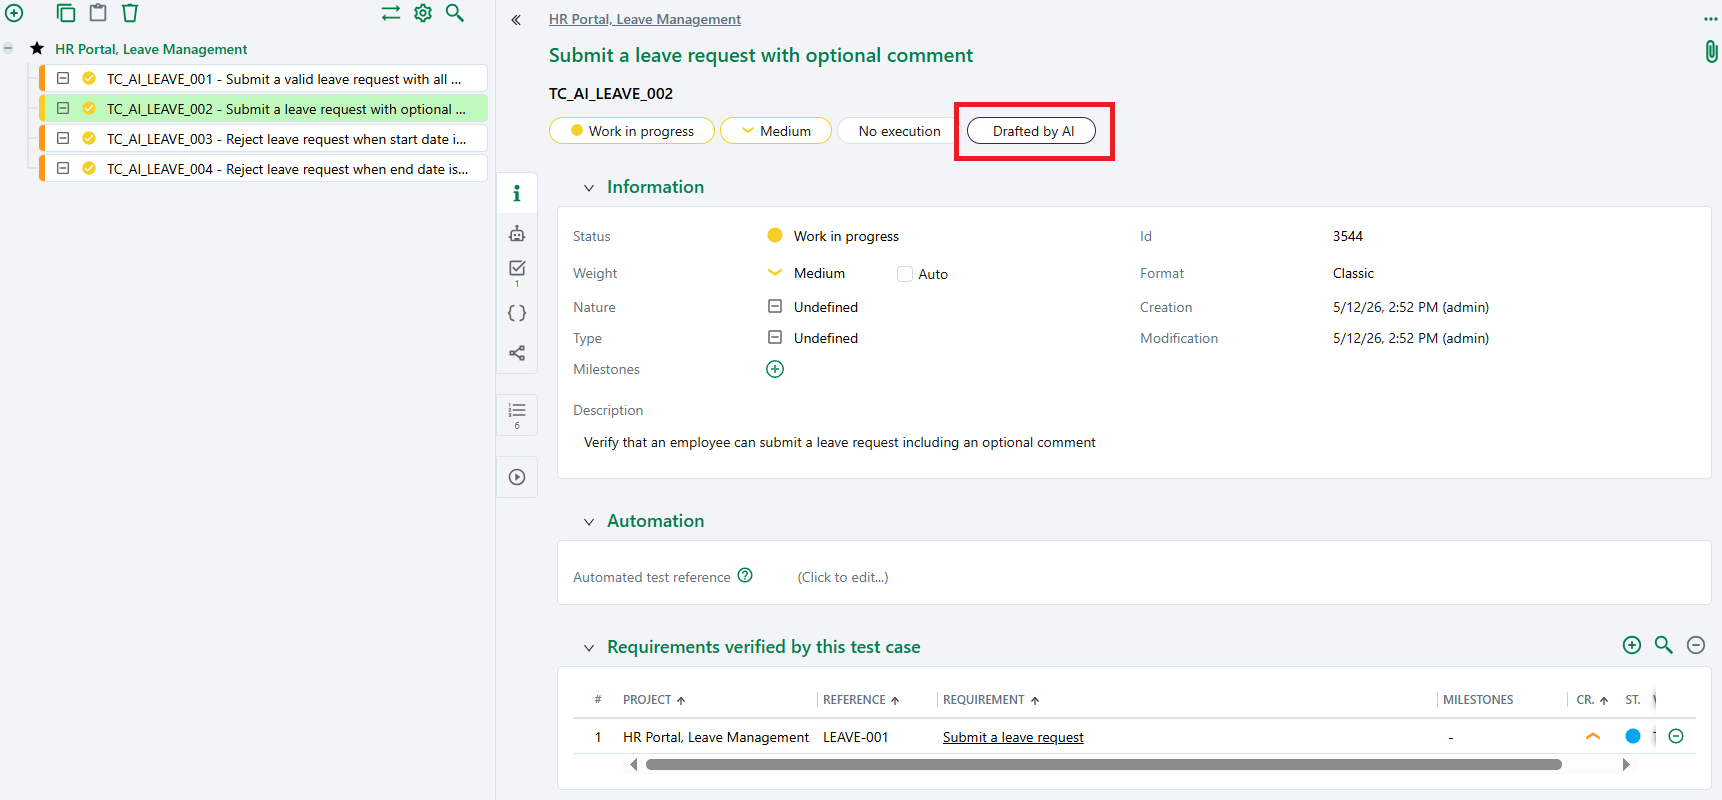
The saved test cases are created in the Test cases workspace, automatically linked to the originating requirement, marked with the Drafted by AI label, and remain fully editable.
If the generation succeeds and the test cases are saved correctly, the end-to-end configuration is validated. 🎉
Troubleshooting
If something does not work, here are the usual checks:
| Symptom | Step to check |
|---|---|
| The Generate test cases action does not appear in the requirement menu. | Step 3: are an AI server and a prompt set associated with the project? Does the user have read permissions on requirements and test case creation permissions? |
| The action is present but the prompt list is empty. | Step 2: does the associated set contain at least one prompt? |
| The Context & Sources panel does not appear. | Step 2: does the selected prompt have a filled-in context wrapper template? |
| Error on send (invalid key, unknown model, timeout…). | Step 1: go back to the server page and rerun the configuration test. The raw error message returned by the API is displayed there. |
| The AI response is rejected as "invalid JSON". | Step 2: the system prompt template must enforce a strictly JSON output, with no code fences or comments. Take inspiration from the default prompts. |
Going further
- Manage Artificial Intelligence servers: advanced parameters per provider.
- Configure custom Artificial Intelligence servers: for non-native providers.
- Manage prompt sets: Handlebars syntax, full examples, datasets.
- Writing test cases with AI assistance: full user guide (multi-send, clearing the selection, behavior on close, etc.).