Configure Plugins to Connect to third-Party Tools
SquashTM can connect to third-party tools thanks to its plugins.
In most cases, you simply have to install the plugin and then configure it in the SquashTM Administration workspace to use it.
Learn More
To learn more about how to configure plugins, please visit the page Manage servers in the SquashTM Administrator Guide.
However, some plugins require additional configuration when it comes to the server:
- Xsquash4Jira;
- Jira Automation Workflow;
- Jira Bugtracker;
- Xsquash4GitLab;
- Redmine Bugtracker;
- Redmine Requirements;
- Tuleap.
Xsquash4Jira and Jira Automation Workflow
Xsquash4Jira and Jira Automation Workflow are synchronization plugins that work with Jira Data Center and Jira Cloud.
The synchronization interval of these two plugins is defined by the configuration property squash.external.synchronisation.delay. By default, the delay between two synchronizations is set at 300 seconds (five minutes).
The property plugin.synchronisation.jira.batchSize allows you to define the batch size for synchronizations (number of issues handled by package). The default batch size is 50, which corresponds to the default value in Jira.
In Jira Data Center, this value is managed by the property jira.search.views.default.max. It is better that values are identical in both Jira and SquashTM.
The Jira Automation Workflow plugin only works if the Jira Bugtracker Data Center plugin or Jira Bugtracker Cloud is already installed in SquashTM.
Xsquash4GitLab
Xsquash4GitLab is a synchronization plugin that works with GitLab. It only works if GitLab Bugtracker is also installed in SquashTM.
Synchronization delay
The synchronization interval of this plugin is defined by the configuration property squash.external.synchronisation.delay. By default, the delay between two synchronizations is set at 300 seconds (five minutes).
Info
This is the same property as the one used for Xsquash4Jira and Jira Automation Workflow plugins. This means that the synchronization delay is the same for Jira and GitLab synchronizations.
GitLab integration token
To set up SquashTM integration in GitLab, it is possible but not mandatory to define a token via the configuration property plugin.synchronisation.gitlab.webhook.secret-token.
The characters allowed for this token are ASCII printable characters, namely lowercase letters, uppercase letters, numbers, and the following special characters:
! " # $ % & ' ( ) * + , - . / : ; < = > ? @ [ \ ] ^ _ ` { | } ~
A second property plugin.synchronisation.gitlab.webhook.show-secret-token allows you to show/hide the token in SquashTM.
When set to true, SquashTM project leaders can see this token in SquashTM UI in order to copy/paste it in GitLab.
When set to false, the token is hidden is SquashTM UI.
Redmine Bugtracker and Redmine Requirements
SquashTM's Redmine Bugtracker and Redmine Requirements plugins require an additional plugin in Redmine.
Focus
The plugin installation in Redmine is not optional. This Redmine plugin is needed for the SquashTM plugins to work.
Warning
Redmine's multi-factor authentication (MFA) is not compatible with basic authentication on SquashTM. If it is enabled on your Redmine instance, you will need to use token authentication when creating your bugtracker.
To install the plugin in Redmine, you must:
Download the plugin redmine-ext-api-1.1.0.zip;
Stop Redmine;
Extract then put the plugin's content in Redmine's
pluginsfolder;Restart the Redmine app.
Then, in the Redmine interface, as an administrator:
- Activate the API by checking the box Activate the REST API in Administration > Configuration > API Tab;
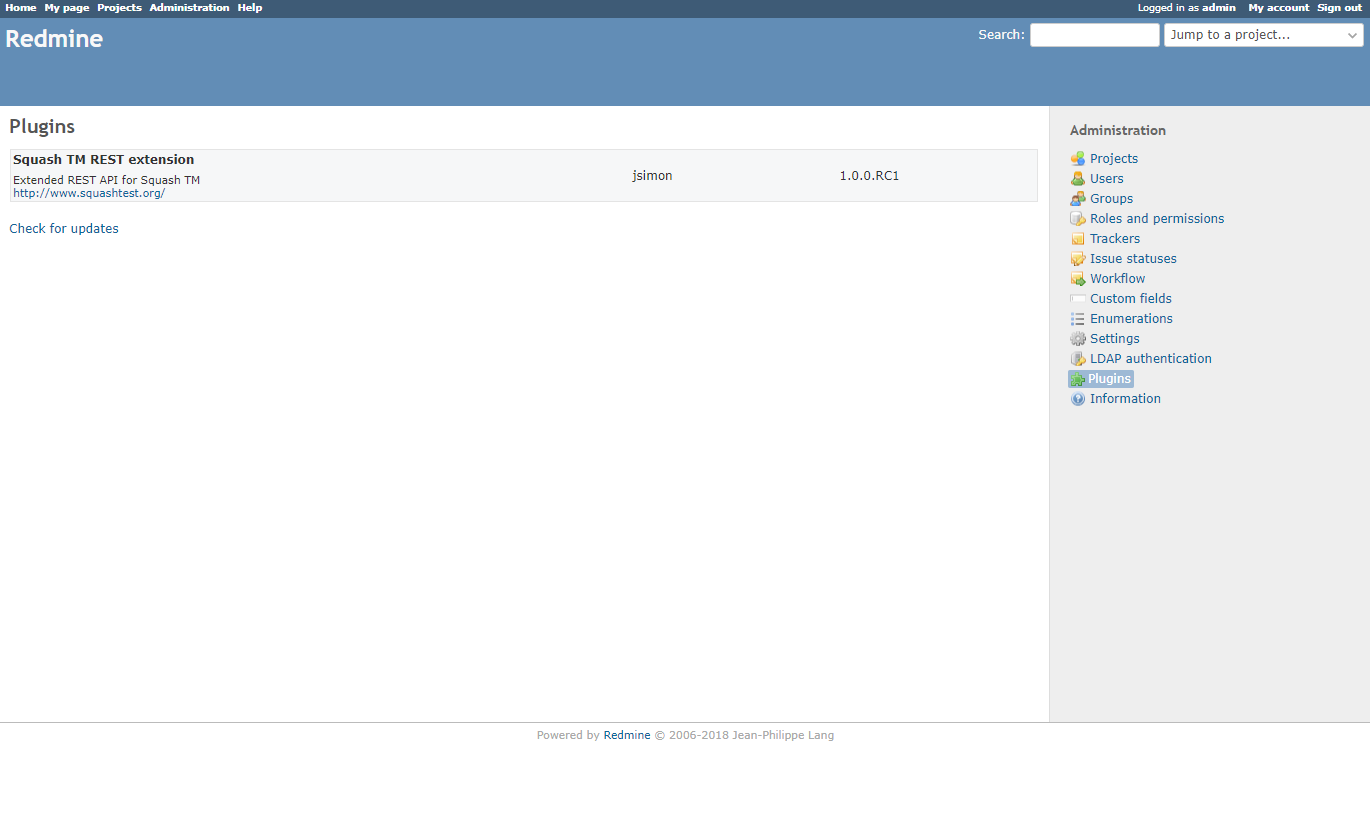
- Verify that the SquashTM plugin is installed in Redmine by going to Administration > Plugins.
Apart from this plugin, the Redmine Requirements plugin can only work if the Redmine Bugtracker plugin is already installed in SquashTM.
Tuleap
Configuring Mapping Properties
The Tuleap Bugtracker plugin can be configured with properties. These properties have to be set in SquashTM's configuration file. A file delivered with this plugin presents a model configuration. You can copy and paste this file's content in the SquashTM configuration file squash.tm.cfg.properties.
The expected properties are the following:
| Property | Field name in Tuleap |
|---|---|
plugin.bugtracker.tuleap.field.summary | Summary |
plugin.bugtracker.tuleap.field.details | Details |
plugin.bugtracker.tuleap.field.assignee | Assigned to |
plugin.bugtracker.tuleap.field.severity | Severity |
plugin.bugtracker.tuleap.field.status | Status |
plugin.bugtracker.tuleap.field.attachment | Attachment |
All the properties of the group plugin.bugtracker.tuleap.field are mappings that indicate to squash the technical name of certain Tuleap fields. These properties are only used for displaying issues in Known Issues tables of executions and execution steps as well as other workspaces.
Import the Certificate to the JVM
By default, the Tuleap API is only accessible through the HTTPS protocol. To communicate using this protocol, the JVM hosting SquashTM must know the Tuleap certificate. The procedure depends on your system, but generally, you must use keytool to import the certificate to the JVM. The procedure is described down below.
Connect to a Third-Party Tool using HTTPS
To use a third-party tool configured in HTTPS, you must install the matching plugin's jar in SquashTM, then import the tool's certificate in SquashTM's JVM.
Here are the steps to follow to retrieve and import the tool's certificate to SquashTM's JVM:
- Stop SquashTM;
- Download the tool certificate:
- Enter the tool's URL using HTTPS in your browser;
- Click on the lock in the address bar;
- For example in Firefox, click on the arrow next to Connection Secure > More Information > View Certificate. Then, download the
PEM (cert)file in the Miscellaneous section;
- Identify SquashTM's JVM;
- Run this command by changing the values of the variables depending on the environment:
export hostname=toolServer
export cacerts=/usr/lib/jvm/java-openjdk/jre/lib/security/cacerts
export cert=/etc/ssl/certs/ssl-cert-outil.pem
keytool -importcert -alias $hostname -file $cert -keystore $cacerts -storepass changeit -noprompt
- Open Command Prompt;
Run this command to go to the JVM's
bindirectory:cd C:\ProgramFiles\Java\jre\binRun this command to import the certificate:
keytool -importcert -alias Tool -file "C:\Downloads\tool-org.pem" -keystore "C:\ProgramFiles\Java\jre\lib\security\cacerts" -storepass changeit -nopromptTool: server aliasC:\Downloads\tool-org.pem: tool certificate locationC:\ProgramFiles\Java\jre\lib\security\cacerts: JVM cacert location
- Run this command by changing the values of the variables depending on the environment:
Restart SquashTM for the certificate to be taken into account.