Manage Users
You can manage users from the Administration workspace. For this, in the "Users" sub-menu, click on the anchor 
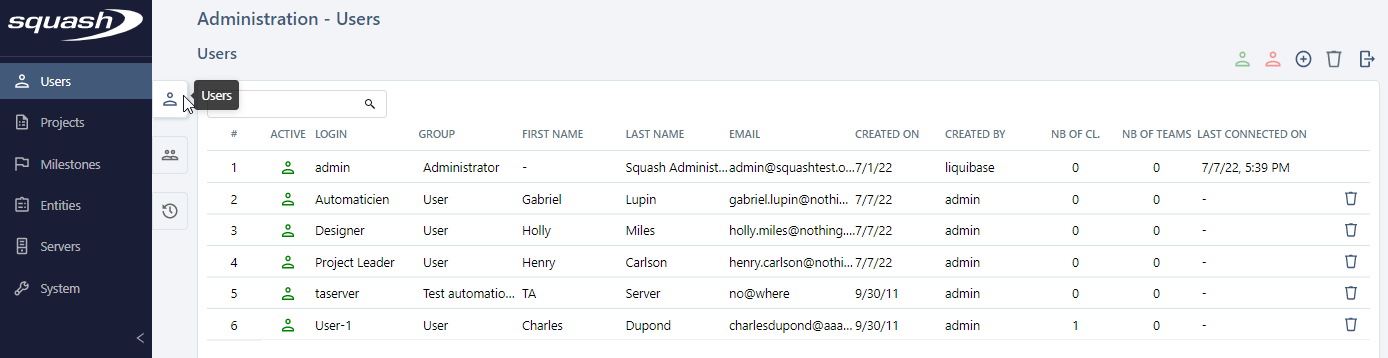
Add, Modify, and Delete Users
From the Manage Users table, you can add  or delete
  one or multiple users.
When creating a new user, choosing their group also defines their authorizations: - Administrator: has all the rights on all the projects on the instance; - Test automation server: its unique function is to execute automated tests from Squash; - User: has limited rights according to each project and workspace, and the authorizations they are given.
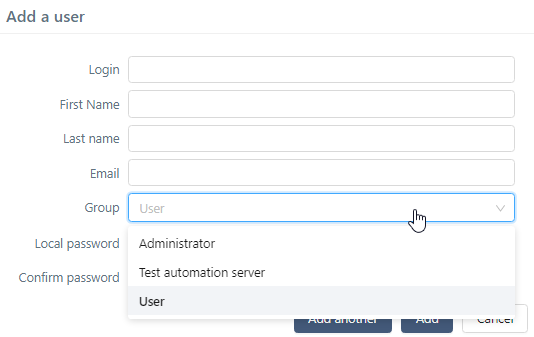
To create a user, you must complete these fields: - Login; - Name; - Password (must contain at least 6 characters); - Confirm password.
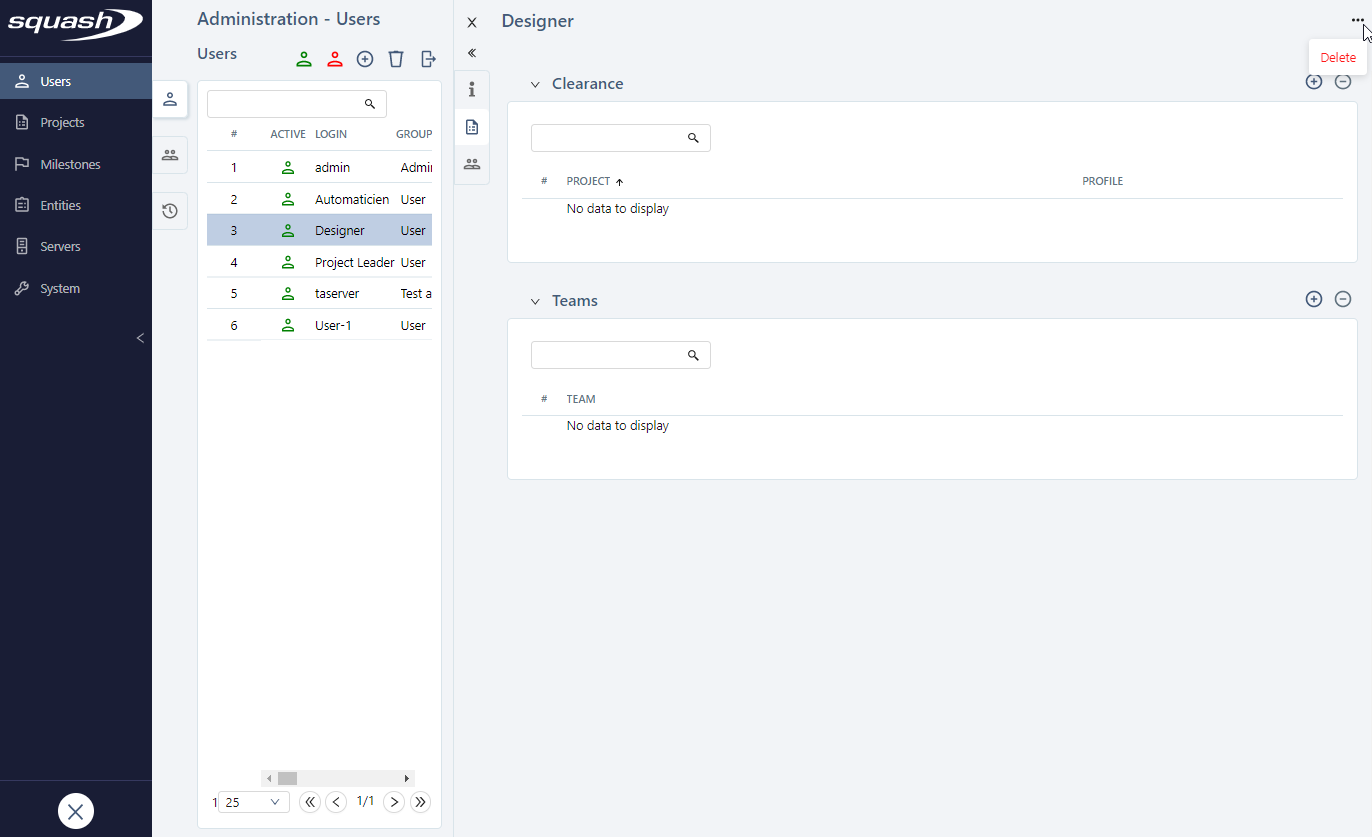
By clicking on a user's row number (#) or their name, their consultation page appears, so you can edit it if needed.
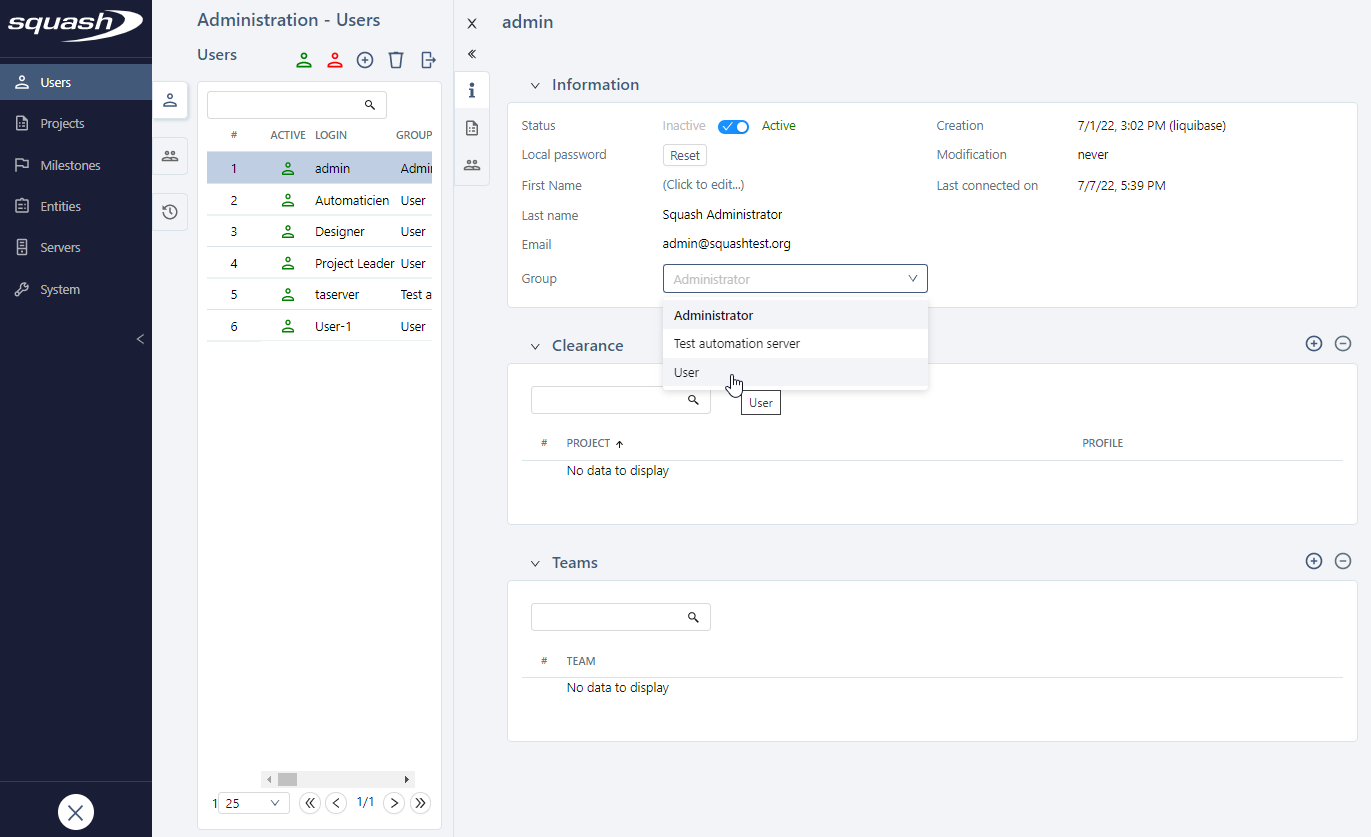
From a user's consultation page, you can: - Activate/Deactivate the user; - Reset their password; - Update their data; - Change their user group; - Give them authorizations on projects; - Change their teams; - Delete them
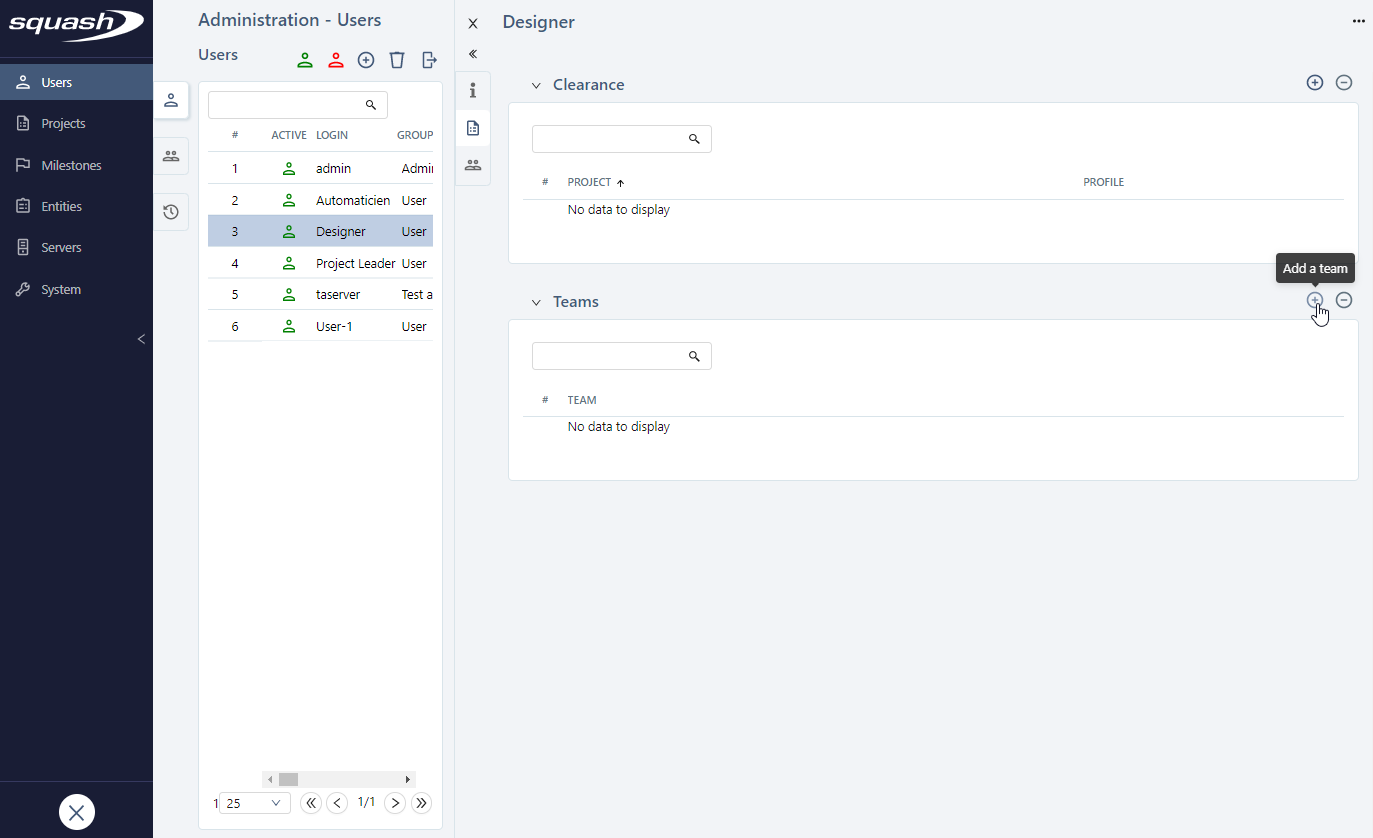
To add an authorization or team to a user, click on the button on top of the corresponding block and complete the fields in the popup.
Deleting a user also deletes them from a team's list of members and forbids them to log into Squash TM. However, the objects they have created will remain.
Activate/Deactivate Users
To deactivate users, click on the button [Deactivate]. This does not delete the inactive user, but they can't log in anymore. Inactive users are grayed out in the table.
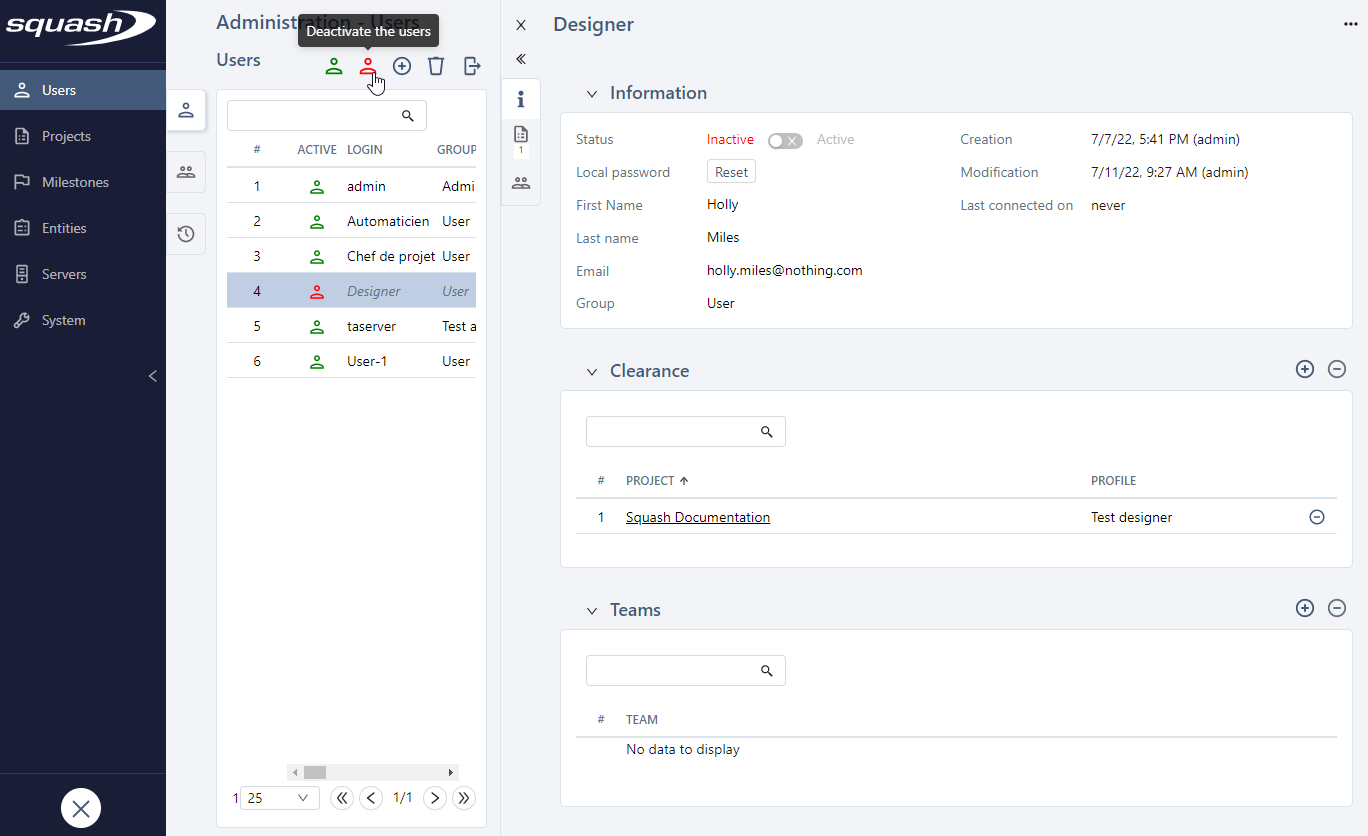
To reactivate the user, click on the button [Activate] or "Status" in the "Information" block of the user's consultation page.
Export the users table
The users' table content can be exported in a .csv file by clicking on  . It is possible to export all the displayed rows or the selected rows.