Organize the Requirement Repository
Organize the Requirement Library
Squash TM offers multiple visual and methodological tools for you to organize the repository and easily identify requirements and their attributes in the library of the Requirements workspace.
References
A reference is an ID that must be unique. It makes it easier for you to identify a requirement within the library: requirements are sorted by the alphanumerical order of their reference, then by their name.
To organize the repository in a coherent manner, it is important that you define naming rules for references and requirement names.
Info
Creating folders and subfolders is also an excellent way of organizing your requirement repository within a same project, i.e. by functional perimeter, sprint, or delivery lot. You can also sort folders by adding a reference in the "Name" field.
Icons and Dots
Icons and dots enable you to have a global view from the library on the state of the requirement repository.
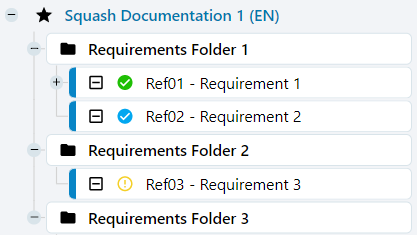
From the library, requirements are displayed in a white pill shape containing the following items:
- 1st: A colored tab that indicates the requirement's criticality
- 2nd: An icon that indicates the requirement's category;
-
3rd: An icon that indicates the requirement's status, its association to a test case, and whether it has a description or not:
- The color of the dot represents the requirement's status.
- An "empty" dot
 means that the requirement has no description. On the contrary, a "full" dot
  indicates that it has a description (a description was entered).
 - A dot contains a checkmark
 when the requirement is linked to at least one test case.
When you hover above each item, an infotip appears, detailing it.
Colors
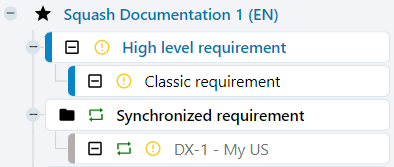
In the library of the Requirements workspace, the nature of each requirement has a specific font color, which enables you to easily identify them:
- Black for classic requirements
- Gray for synced requirements
- Blue for high-level requirements
Pill shapes
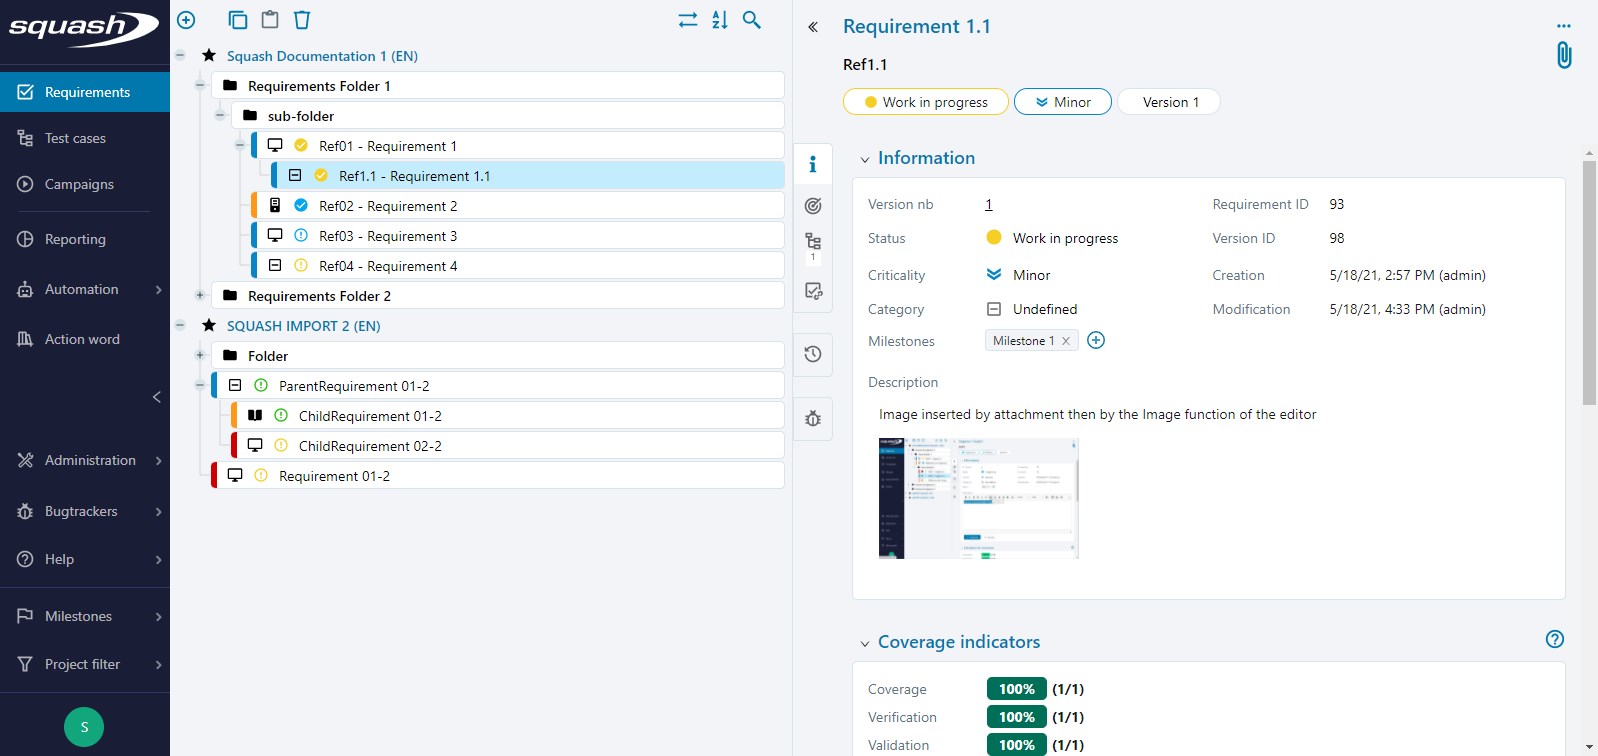
On a requirement's consultation page, you can see pill shapes under its reference. They show:
- the requirement's status
- the requirement's criticality
- the requirement's version number; you can click on this pill shape to access the page to Manage the Requirement's Versions.
Requirements Hierarchy
You can create a requirements' hierarchy from the Requirements workspace. Before, you must select a requirement. This requirement will be the parent requirement of the requirement you will create. Once the child requirement is created, it appears in the requirement tree, under its parent requirement.
You can create multiple requirements at the root of one single parent requirement. A child requirement can then become the parent requirement of a new requirement.
This feature enables you to make a requirement more detailed, or to divide a macro requirement into multiple micro requirements.
Links between Requirements
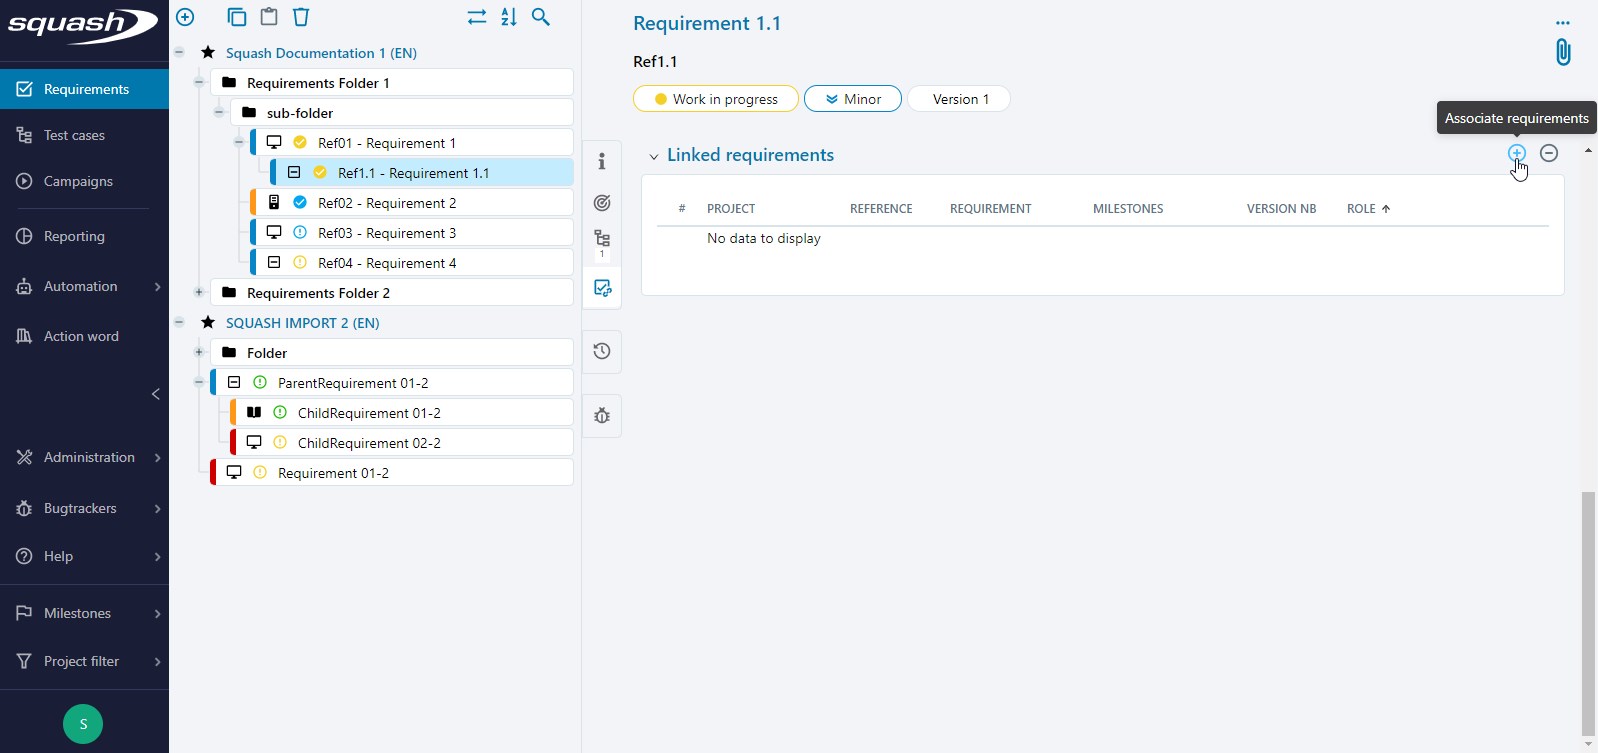
The block "Linked requirements" enables you to link one or multiple requirements. This feature enables you to highlight a link between two requirements that is not easy to see just by looking at the tree.
On a requirement's consultation page, the block "Linked requirements" enbables you to link one or several requirements to the consulted requirement.
There are two ways of linking requirements:
- In the library, select then drag and drop one or multiple requirements to the requirements' "Linked requirements" table;
- Click on the button
 on the top right of the block, then select the requirements to link from the "Requirements repository" using drag-and-drop
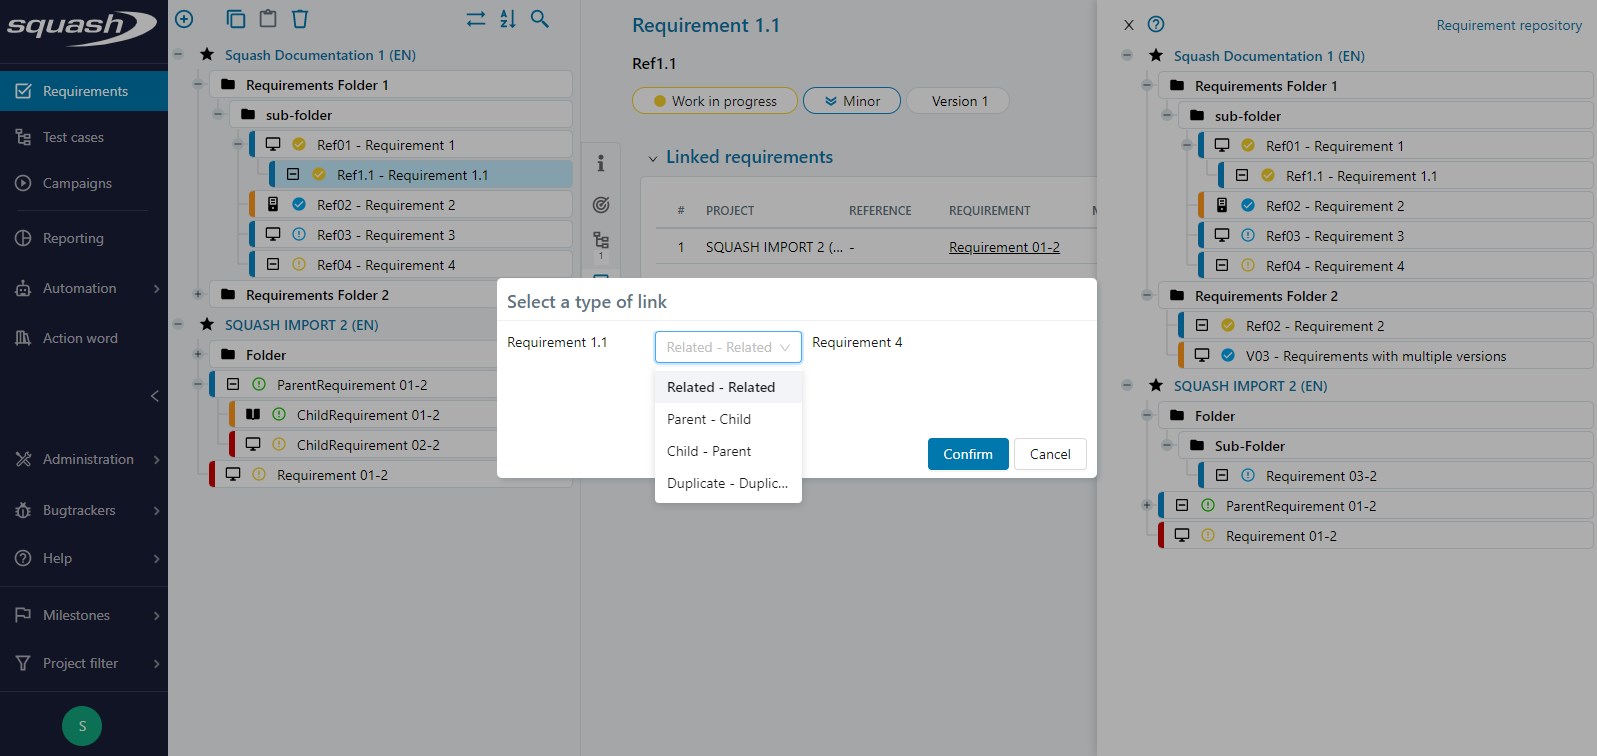
You can link requirements that belong to two different projects.
The popup "Select a type of link" appears and contains, in a drop-down menu, all the types of links you can assign to requirements. The link is defined by a couple of roles: The role of the source requirement (Role 1) - The role of the linked requirement (Role 2).
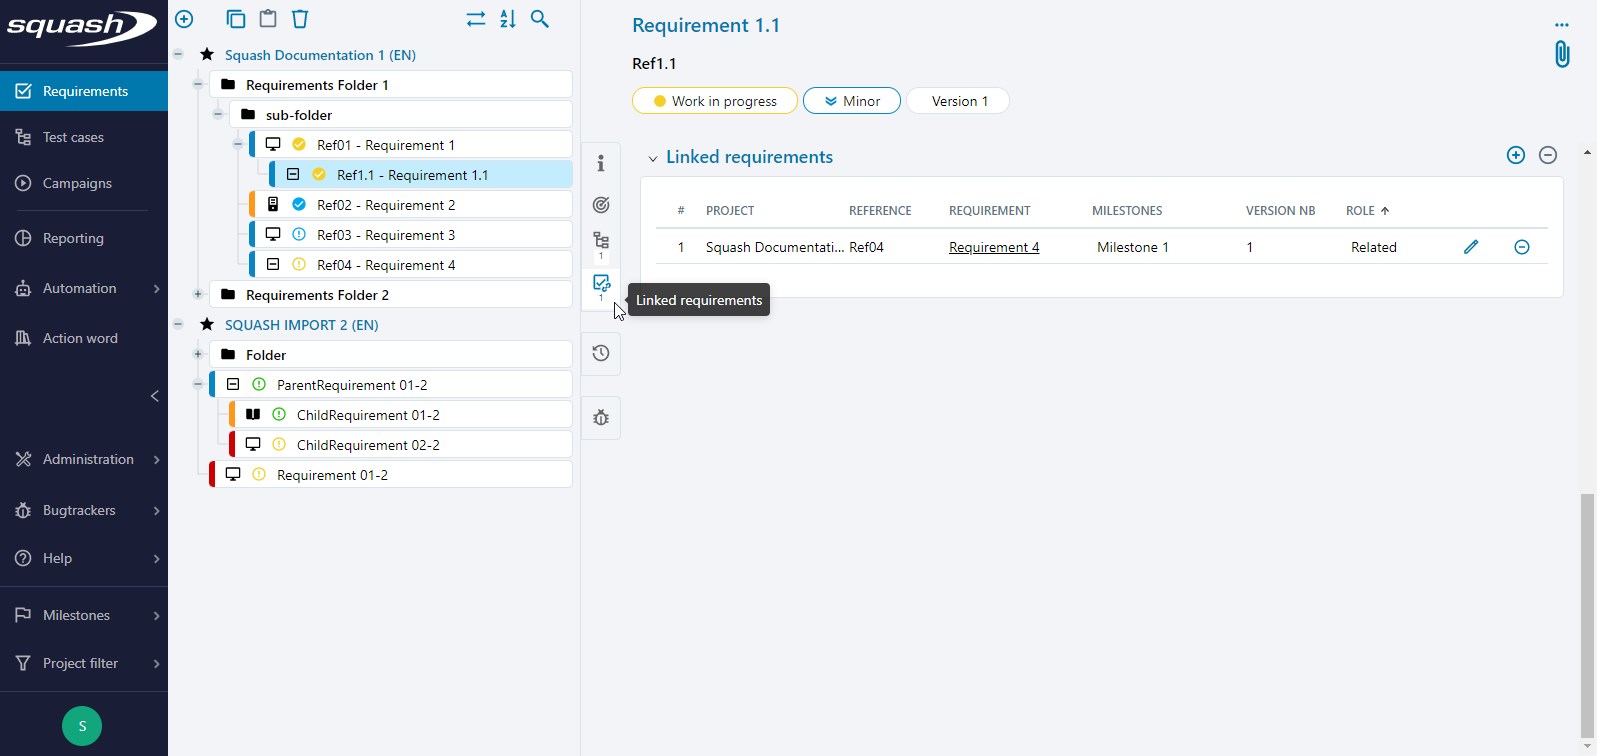
Once the requirements are linked, the table's "Role" column is updated with the roles of the linked requirements (Role 2). The "Linked requirements" anchor is also updated with the number of linked requirements under its icon.
Hierarchy between High-Level and Classic Requirements
A high-level requirement represents a macro requirement that gathers multiple classic requirements.
To create a requirement hierarchy, create one or multiple classic requirements at the root of a high-level requirement.
Once you have created the classic requirement, it appears in the requirement tree under its high-level requirement, and it is automatically associated with it.
You can also manually associate a high-level requirement with a classic requirement that is in a different location on the requirement tree.
This hierarchy has one particularity, which is that all the classic requirements associated with a high-level requirement are taken into account to calculate coverage indicators and associated issues.
Learn More
To learn more about high-level requirements, please visit this page: Manage High-Level Requirements