Administration workspace features
The following features are available for all the management tables of the Administration workspace.
Create an Object
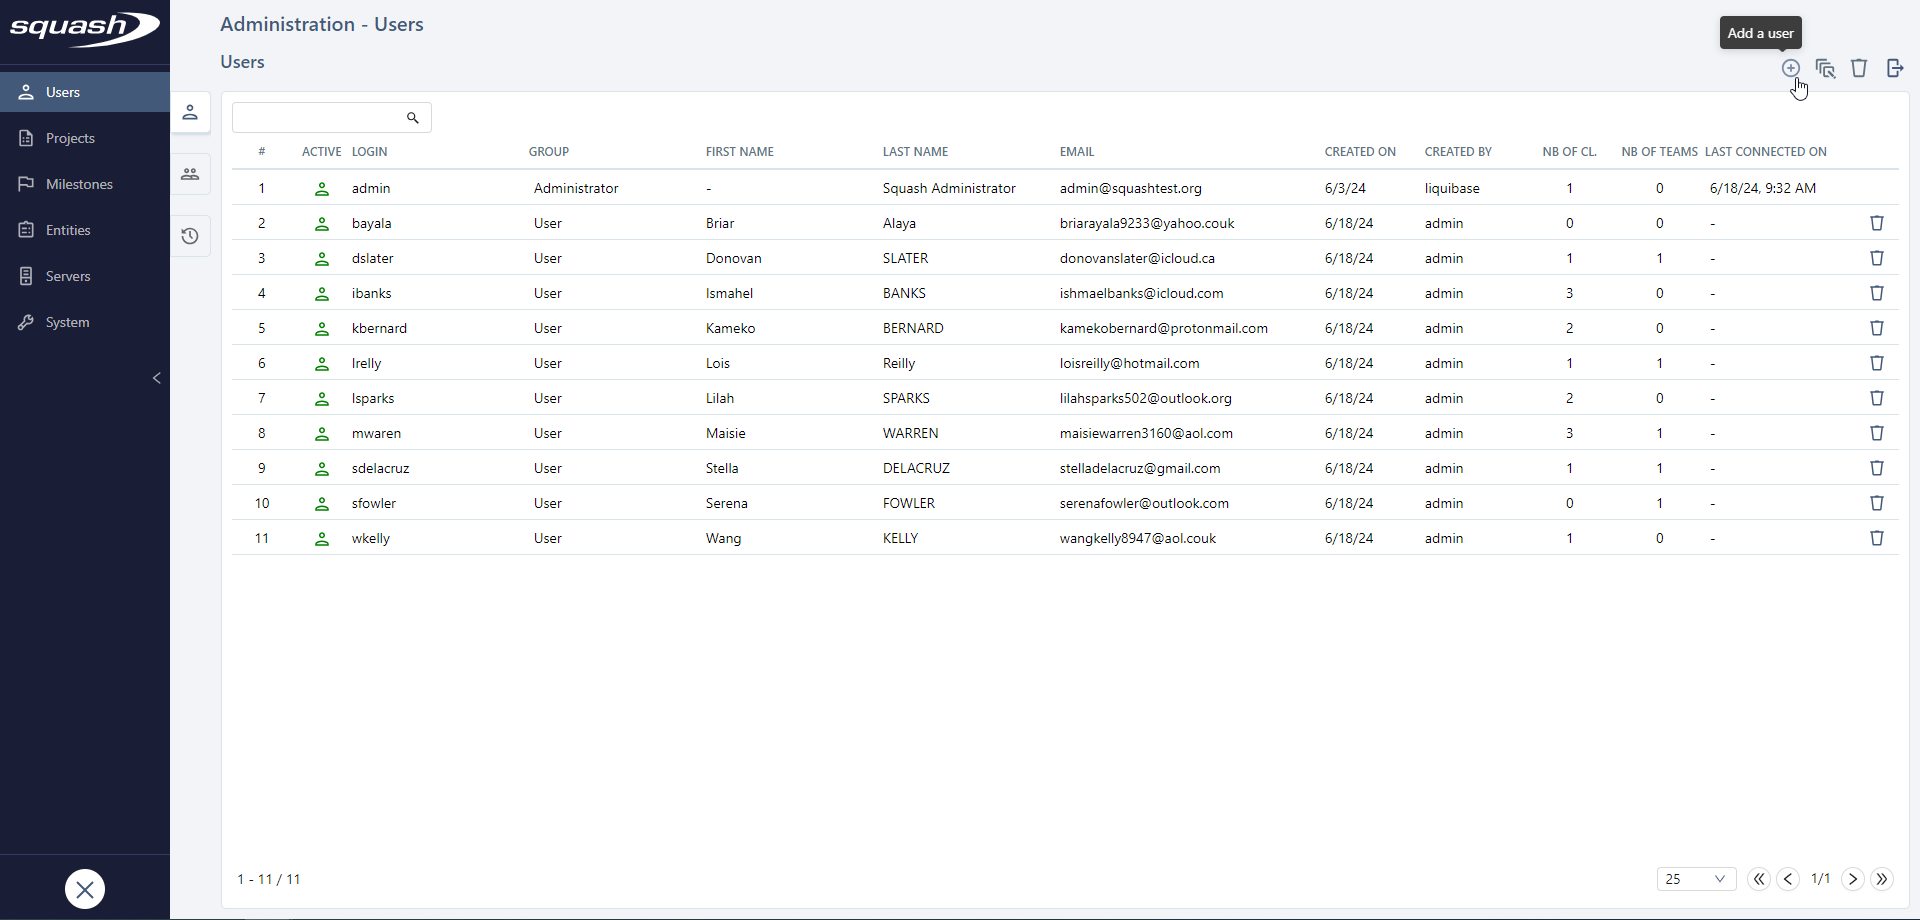
To add an object to the management page you are viewing, click on the button ![]() .
.

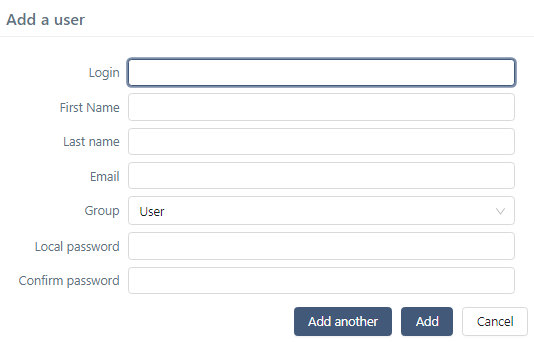
A "create" pop-up appears. You need to complete the mandatory fields to add the object.

Thanks to this create pop-up, you can add objects one after the other. Indeed, you can reinitiate this pop-up by clicking on the button [Add another] to quickly add multiple objects. Each time you add an object, the table updates itself automatically.
Edit the fields of an Object
Every SquashTM object has multiple attributes. Each time you hover above the value of an attribute, you can see if you can edit it thanks to a visual indicator (underlined value, pencil icon or colored frame).
To edit an attribute, click on the field's value, enter a new value, then confirm (click the [Confirm] button or press Enter).
There a multiple types of fields within the app:
- simple text: text without formatting; one line;
- checkbox;
- date: select a date in the calendar or manually enter it in dd/mm/yyyy format;
- drop-down list;
- numerical;
- tag: enter one or multiple values as tags with an autocompletion feature;
- rich text: text with formatting; multiple lines.

Delete an Object
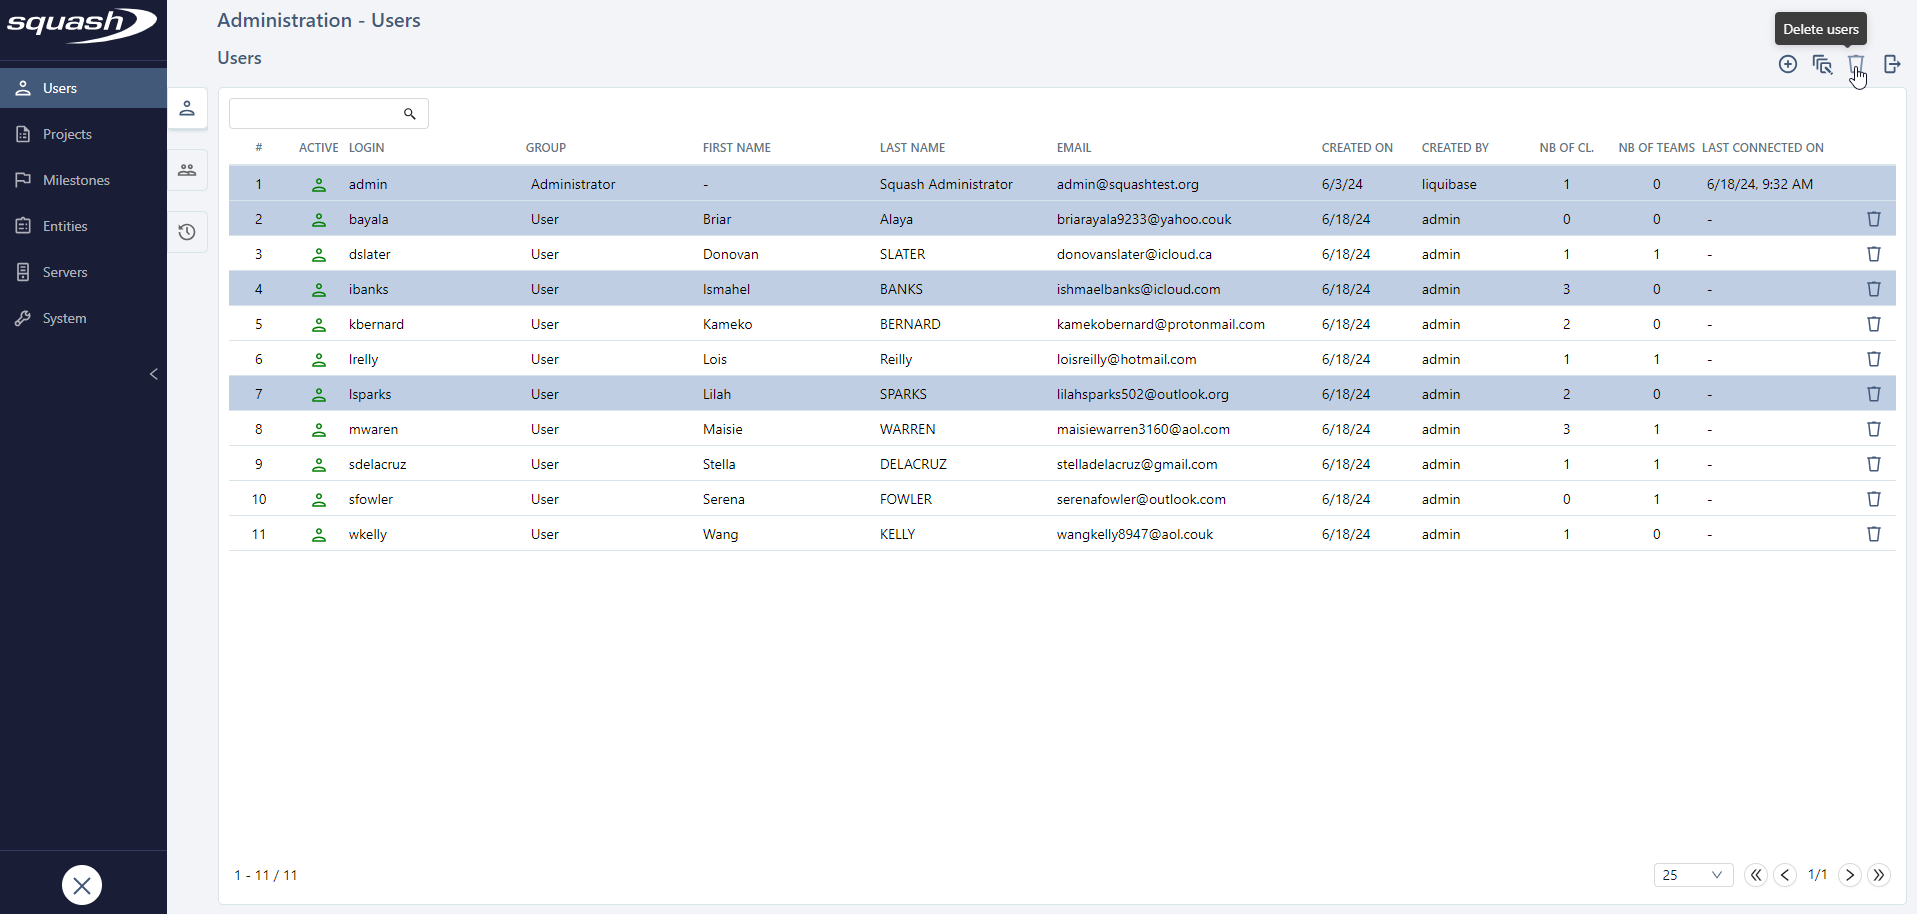
There are two ways to delete objects in tables. You can either click on the button  at the end of each row or use the mass delete button above the tables to delete multiple objects you selected at once.

Search for an Object
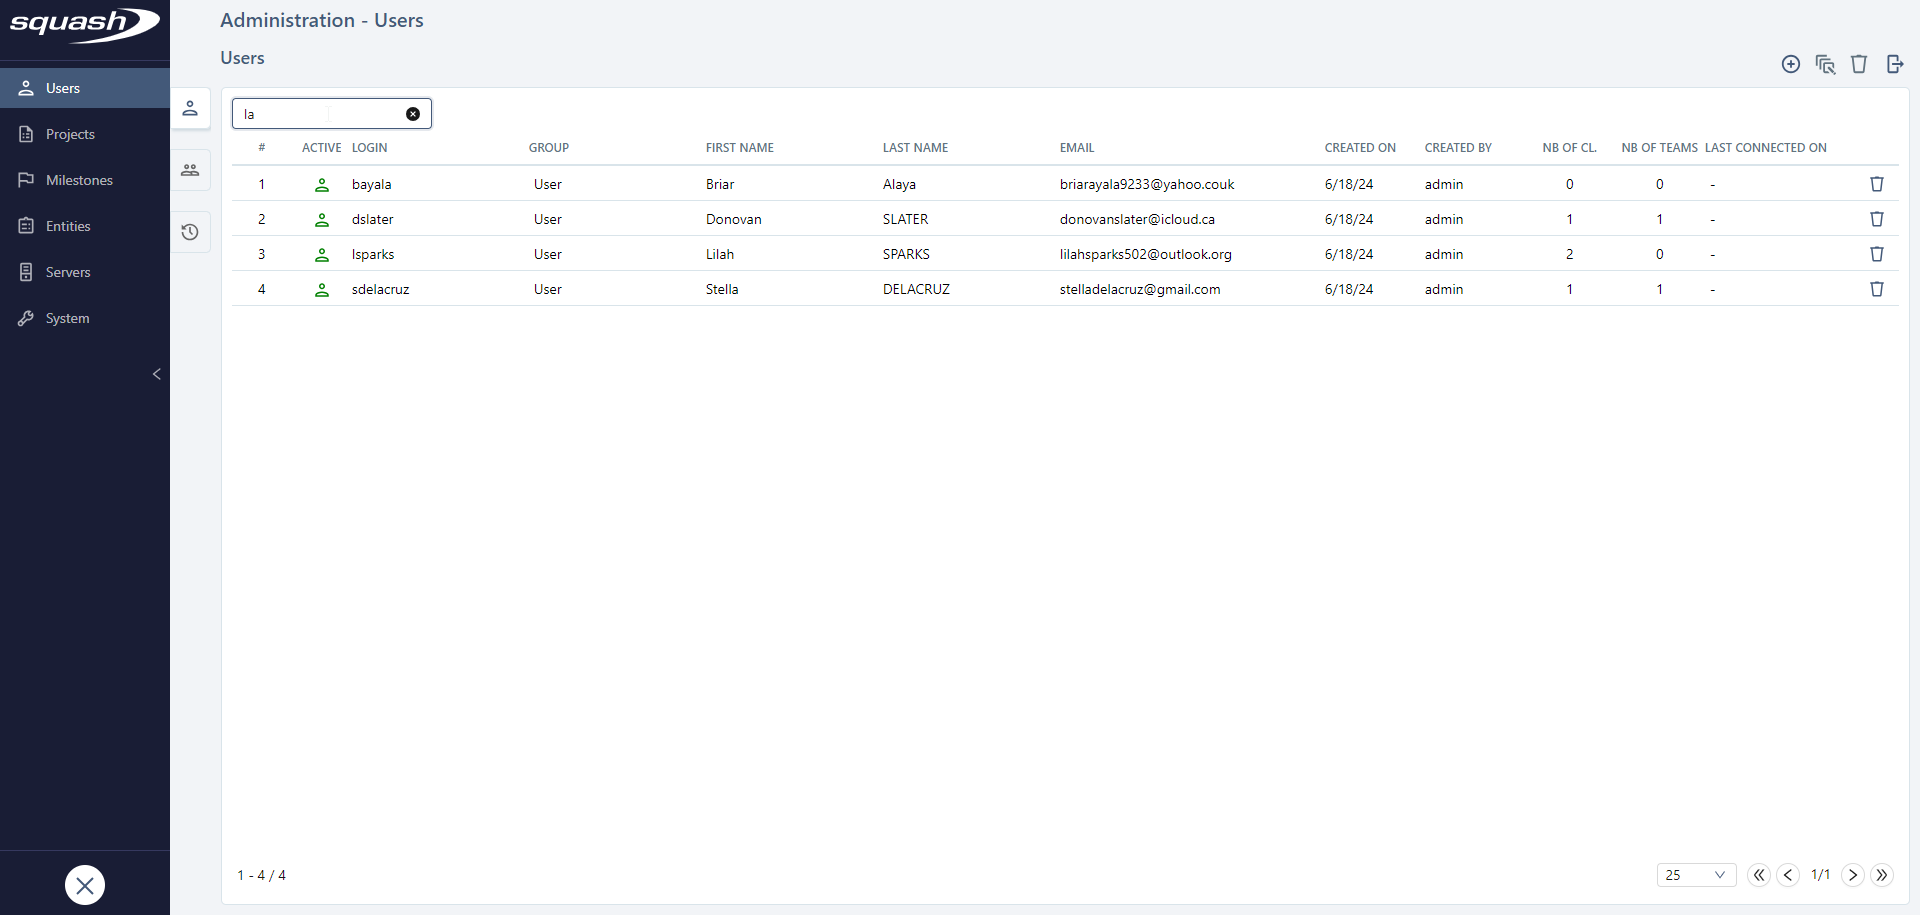
The management pages of the Administration workspace all contain a field that enables you to search for items within tables. The content of the table updates itself automatically depending on what you have typed in the search field.

You can clear the search field by clicking on the button [X].
How the tables work
Tables are sorted by default. To modify this sorting, click on a column's heading: the arrow pointing upwards sorts by alphabetical or chronological order; the arrow pointing downwards reverses that sorting order.
