Manage a Project
You can manage a project from the Administration workspace. Click on the submenu Projects to make the dedicated table appear.
Add and modify a Project
From the Projects table, you can add a project. 
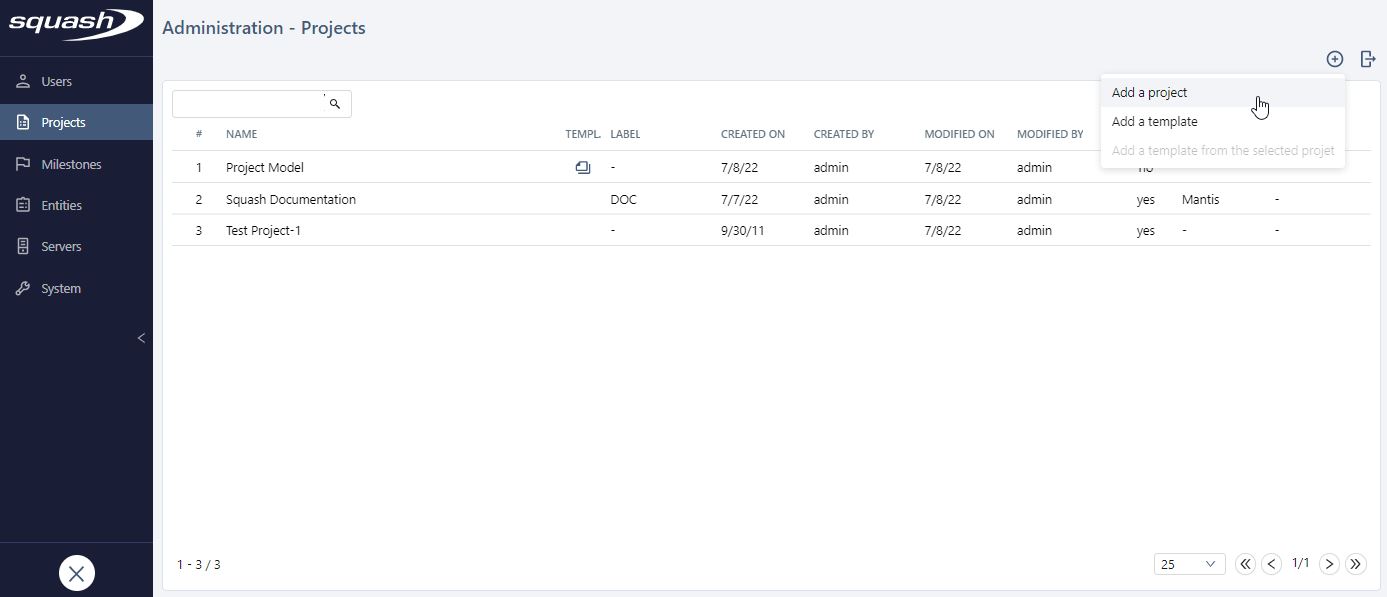
To create a project, you must fill in at least the Name field, but you can also add a description, label, and template to associate with the project.
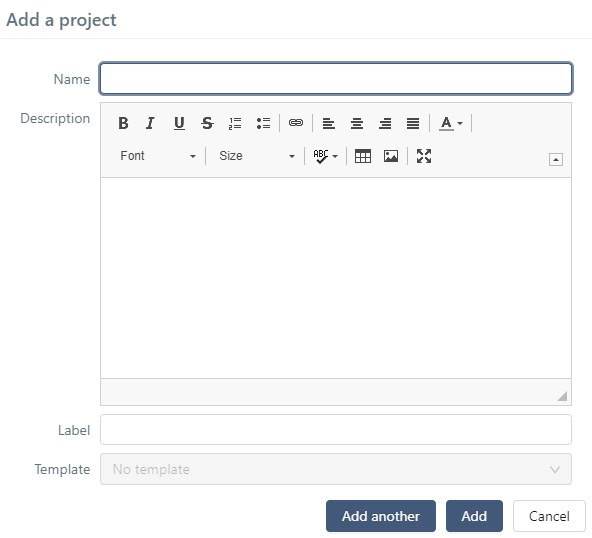
To create multiple projects in a row, you simply have to click on the button [Add another].
Once created, the projects are displayed in the libraries of the different workspaces.
From the Projects table, by clicking on the row number (#) or the Name of the project, the consultation page appears, and you can modify the project. The anchor bar enables you to navigate between the different blocks and pages.
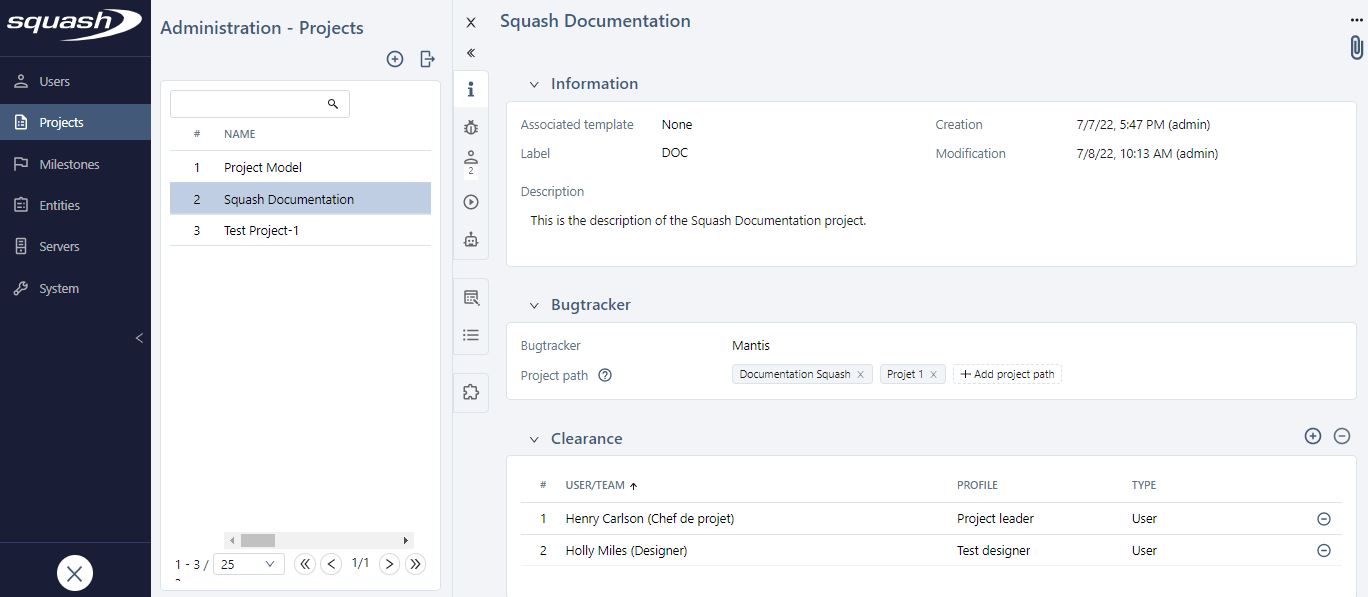
From a project's consultation page, you can configure a project:
- edit the project's information;
- add attachments to the project;
- associate the project with a template or turn it into a template;
- associate the project with a bugtracker;
- manage the user authorizations and/or the team authorizations for the project;
- authorize optional execution statuses as well as the editing of test cases during the execution;
- activate an automation workflow and manage information related to automation and BDD test cases;
- associate custom fields and information lists;
- associate milestones;
- activate and configure plugins.
Delete a Project
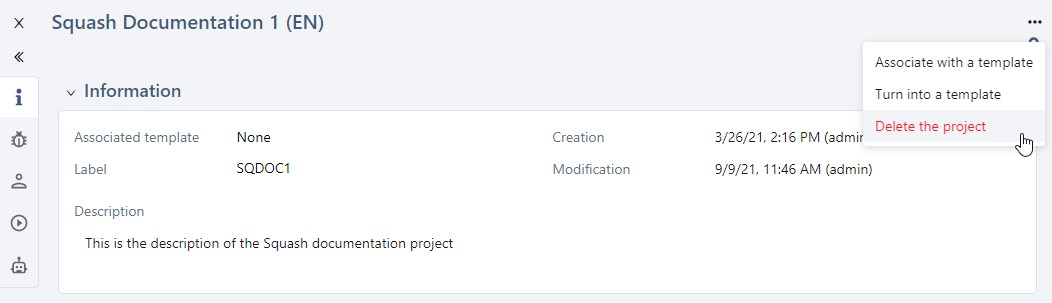
You cannot mass delete projects. You must delete them one by one from their consultation page by clicking on the button [...], then Delete the project.
Info
You cannot delete a project if it contains data in one of the following workspaces:
- Requirements;
- Test cases;
- Executions;
- Reporting;
- Action words.
Deactivate plugins
Deleting a project can interfere with an ongoing synchronization. Before deleting a project, you should deactivate the plugins attached to it.
Export the projects table
The Projects table content can be exported in a .csv file by clicking on  . It is possible to export all the displayed rows or the selected rows.